|
|
|
 |
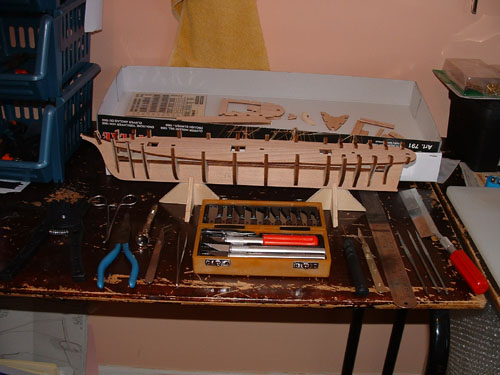
Open the box and lay out the keel and decks |  |
|
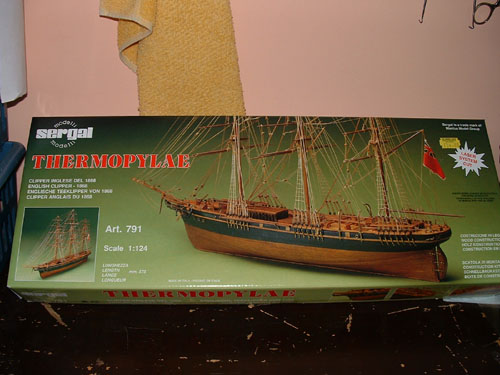
The box |
||
|
The box |
|
|
|
The contents |
|
|
|
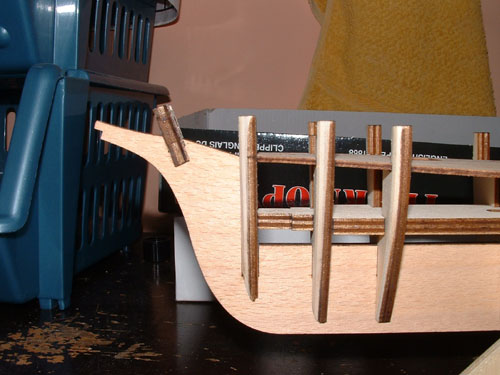
Carefully use a craft knife or something similar to remove your parts from their panels. Sand them gently to remove any protrusions remaining and smooth the edges Check the fit of the frames to the keel before gluing |
|
|
|
BASIC tool set - Left to right - Plank Bender:Forceps:Pliers:Micro Drill:Various Forceps(Get good quality ones):Craft Knife:Pin Inserter:Scalpel:Metal Rules:Minature Files:Model Saw |
|
|
|
Very important to shape the bow and stern frames to allow the panks to sit better and have more surface for gluing - Sand mostly before fitting then make minor adjustments while fitting planks - Then assemble and glue the frame ensuring they are at right angles to the keel - loose fitting the deck or using a stiff card template can help this |
|
|
|
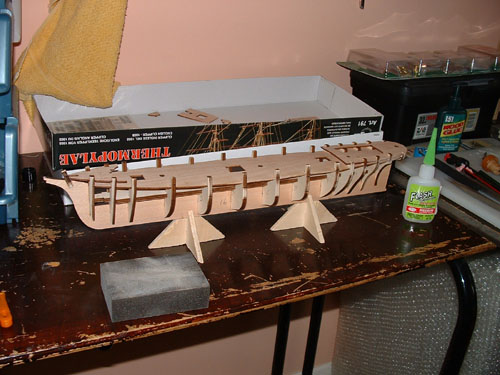
When fitting the decks it will be noticed that mostly they do not sit flat on the frames. It is important when gluing to ensure that the deck follows the curve of the frames to give the deck it's slope or "sheer". I used medium superglue (Cyanoacrylate) and glued each join singly one at a time - 28 in the case of the main deck |
|
|
|
The 3 decks glued and any protruding edges gently sanded with an automotive wet & dry block which I use a lot. The model is now ready for the second most difficult (IMO) stage - PLANKING!! |
|
|
|
|
|
|
|
|
|
|
|
|
|
|